How to Add a New Product in OnePhenix
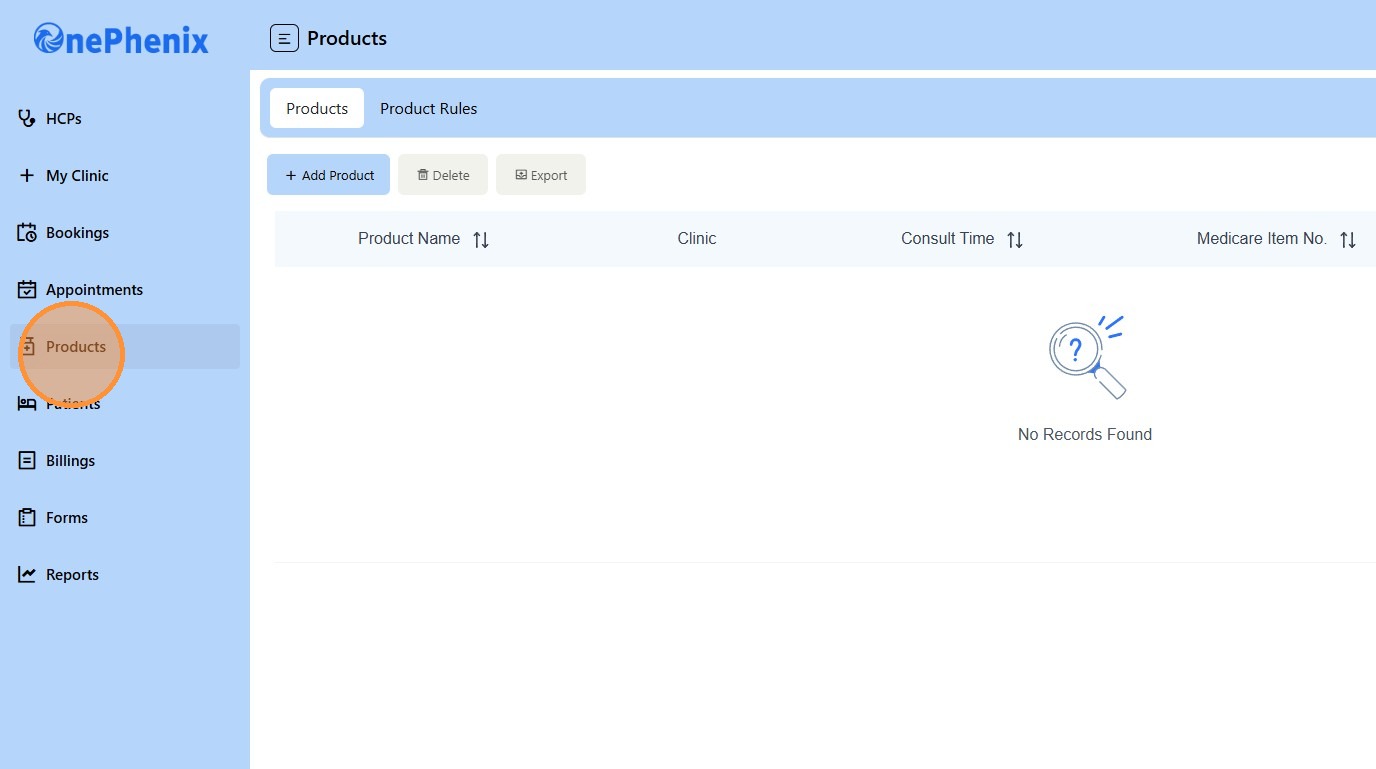
1. Navigate to https://web.onephenix.com/#/product
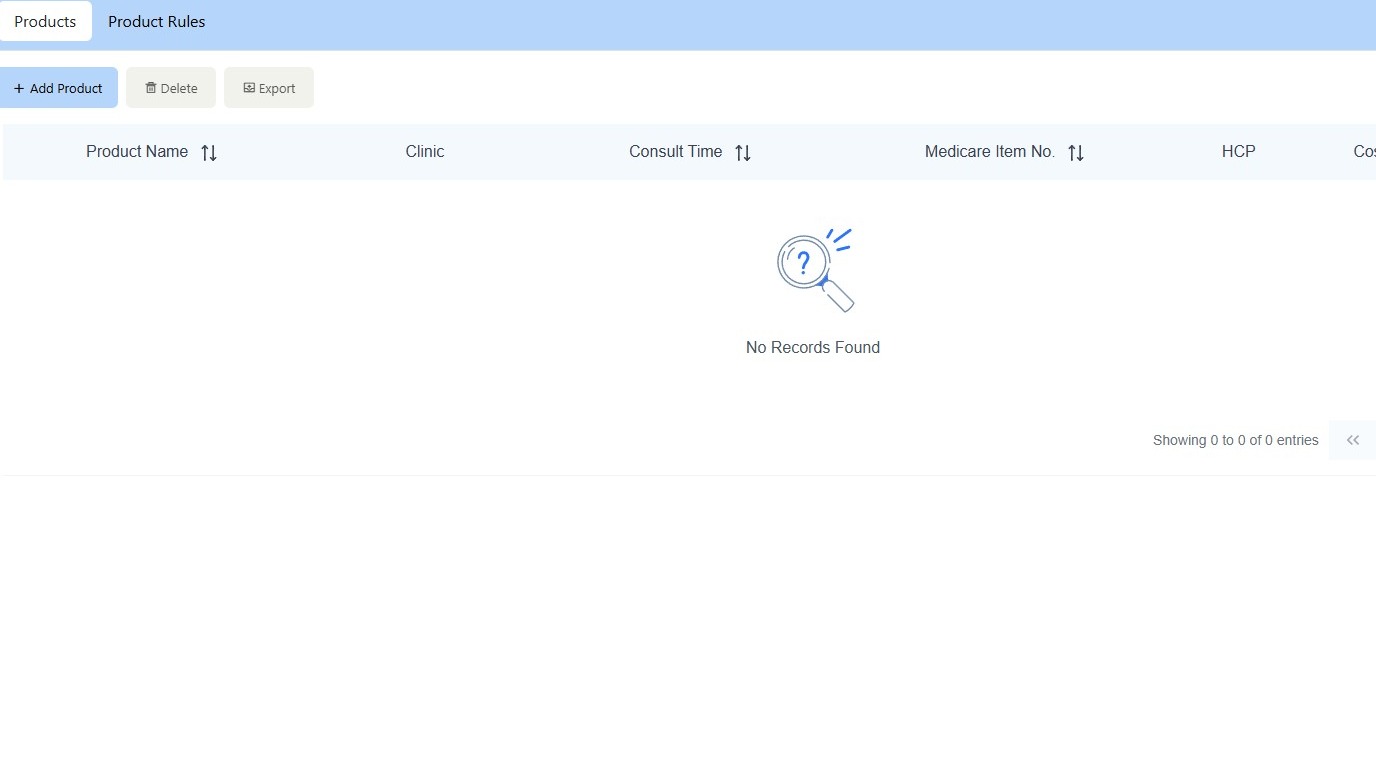
2. Click “Products”
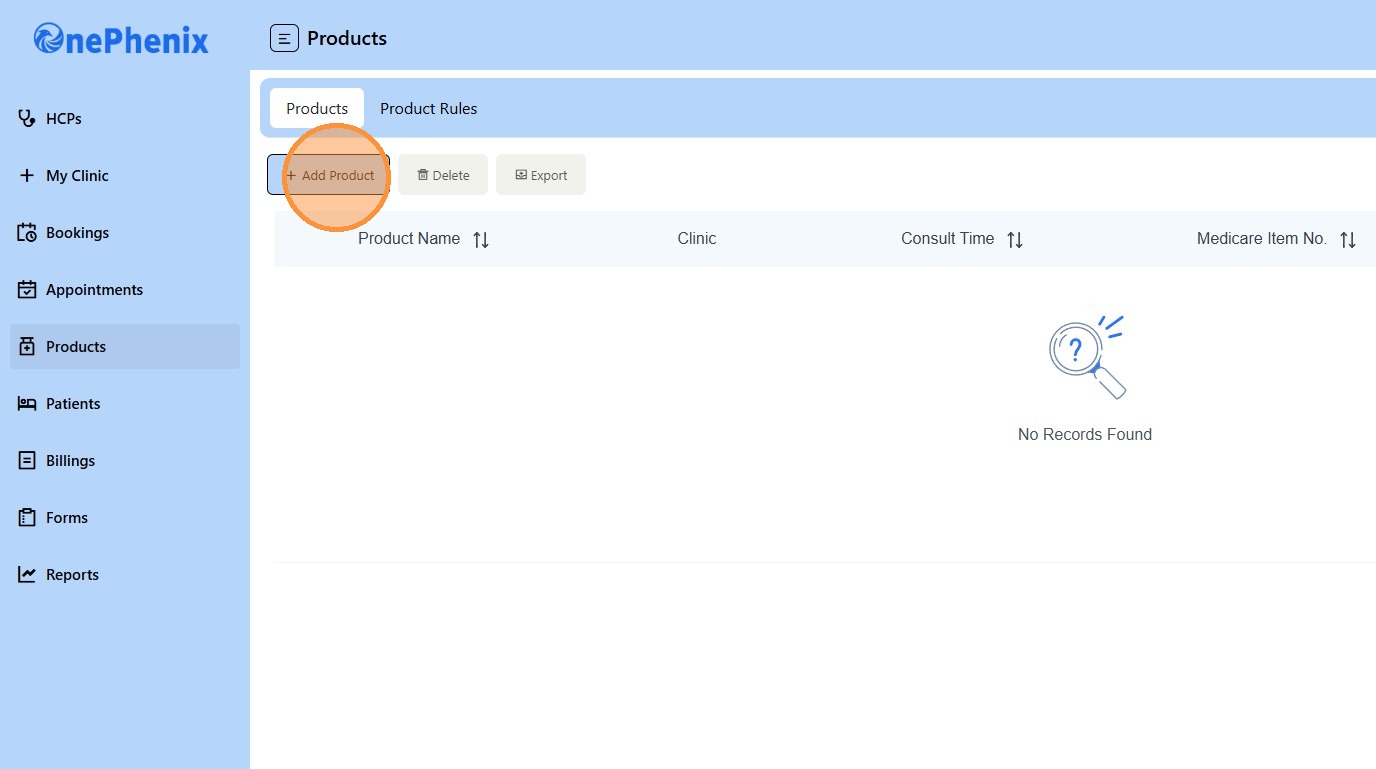
3. Click “Add Product”
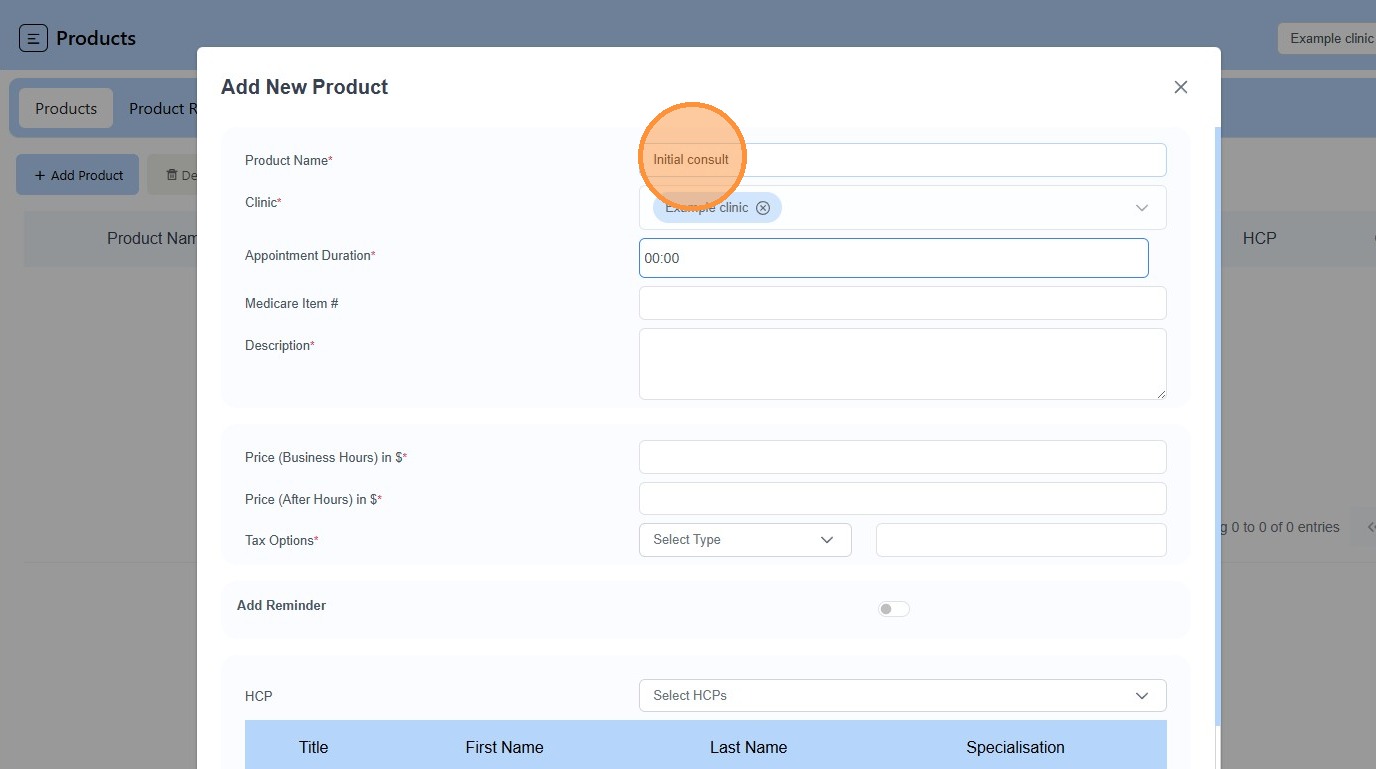
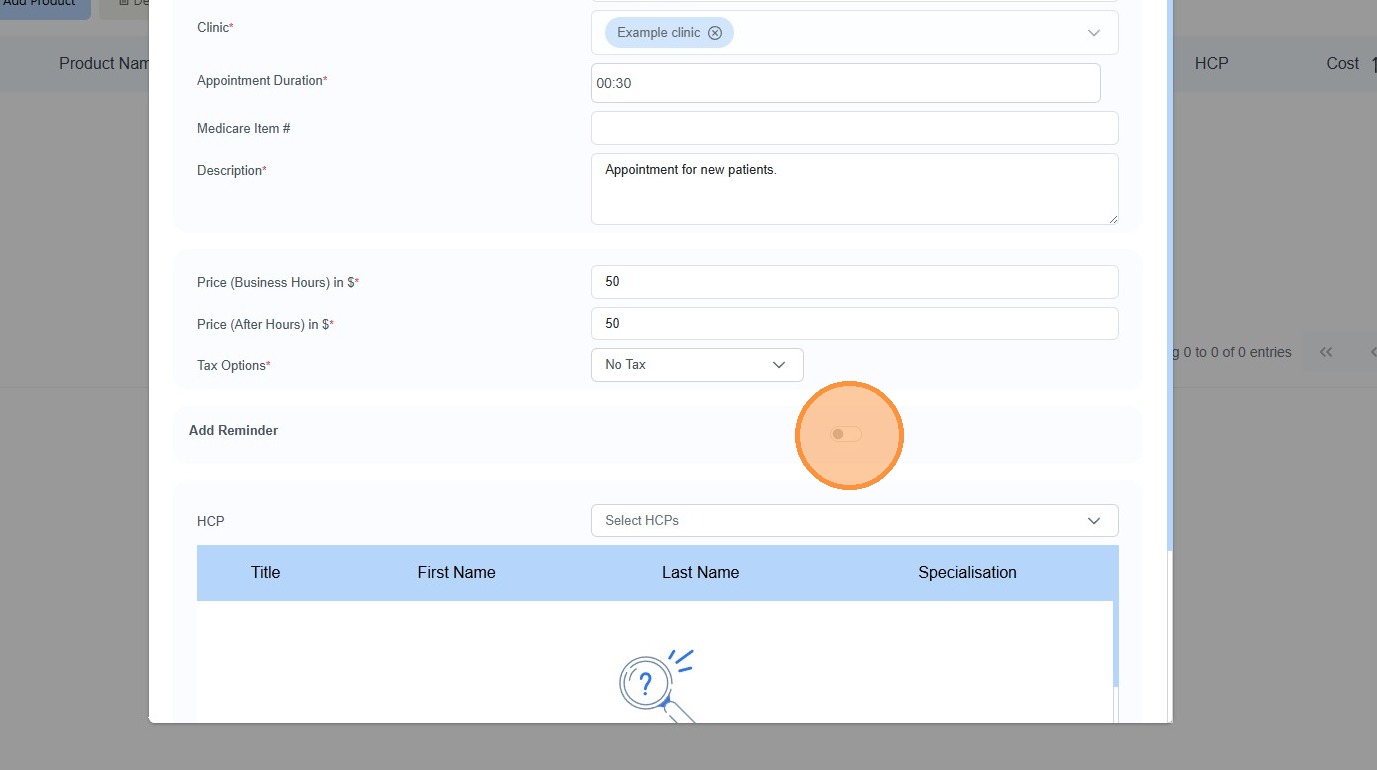
4. Enter the “Product Name”
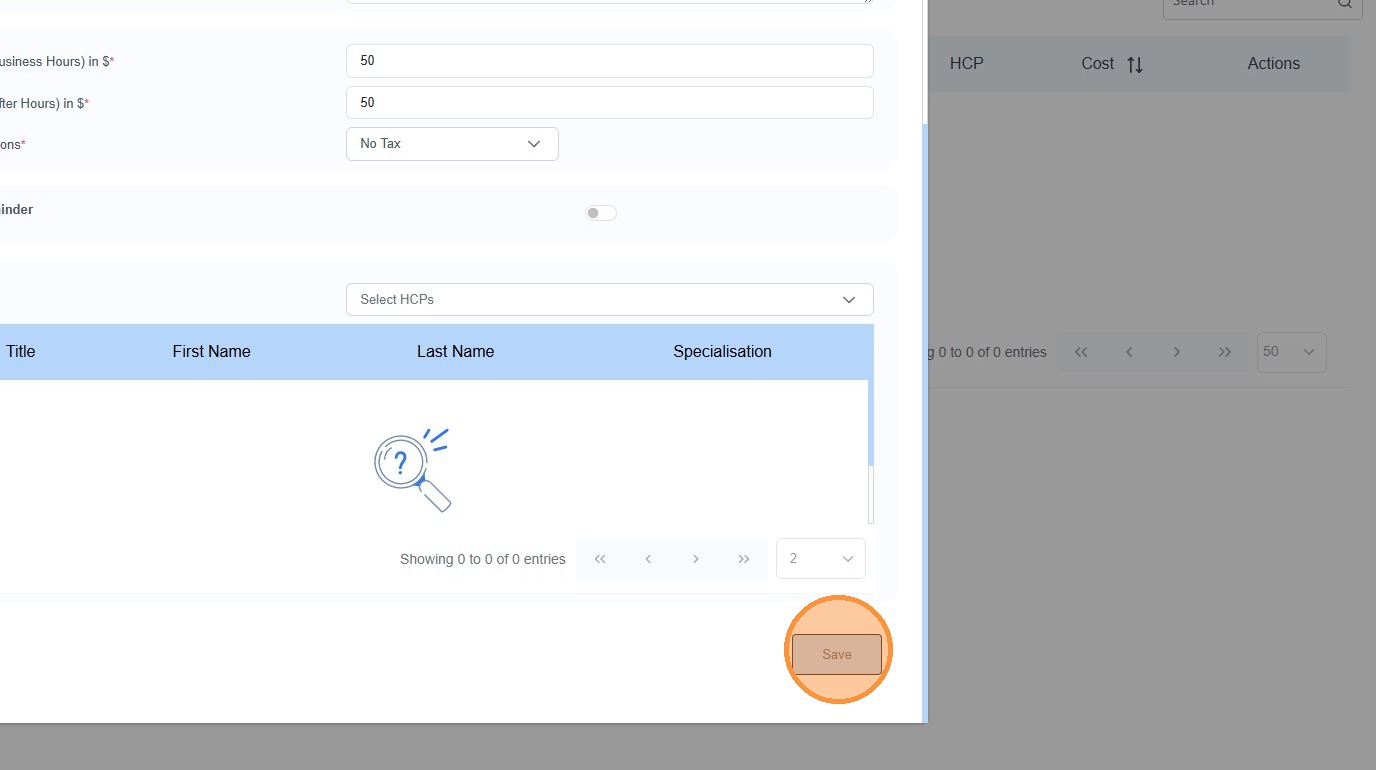
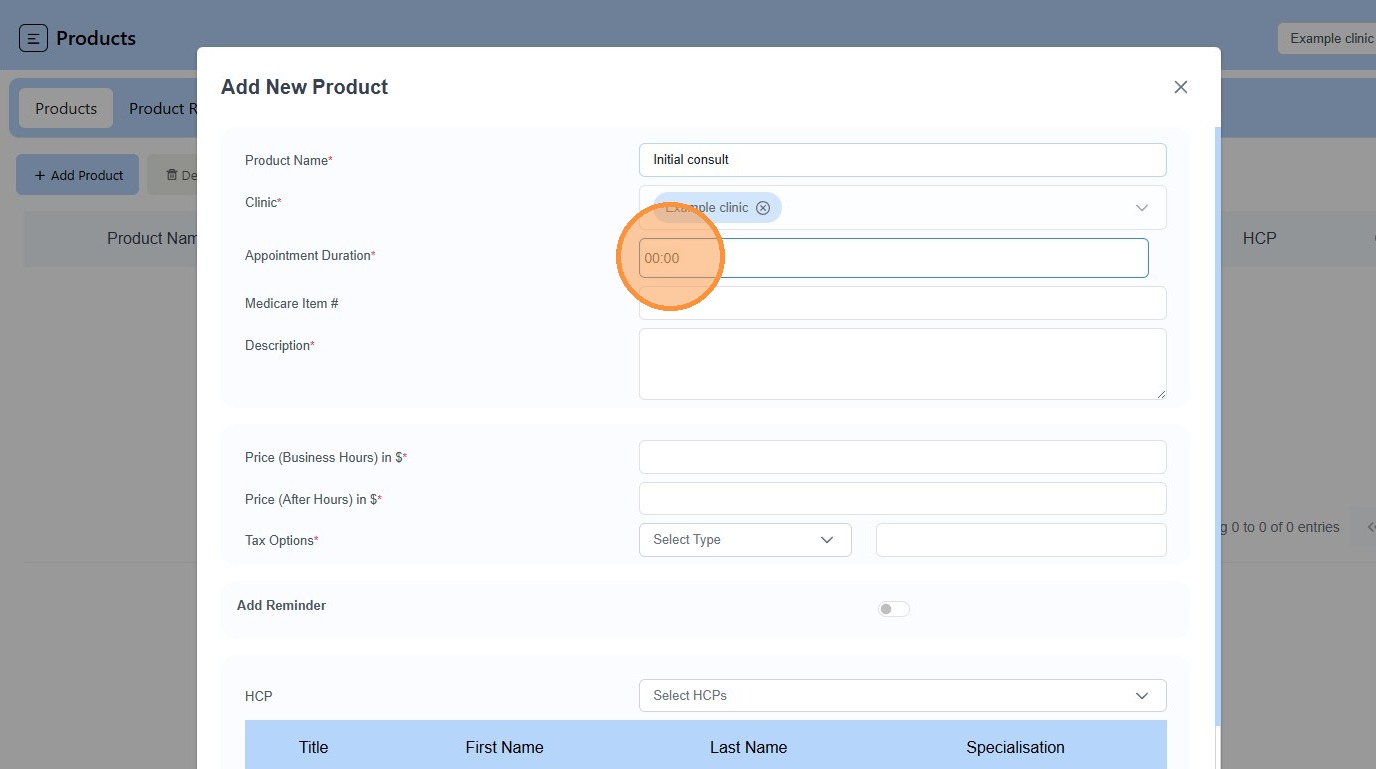
5. Enter length of appointment HH:MM
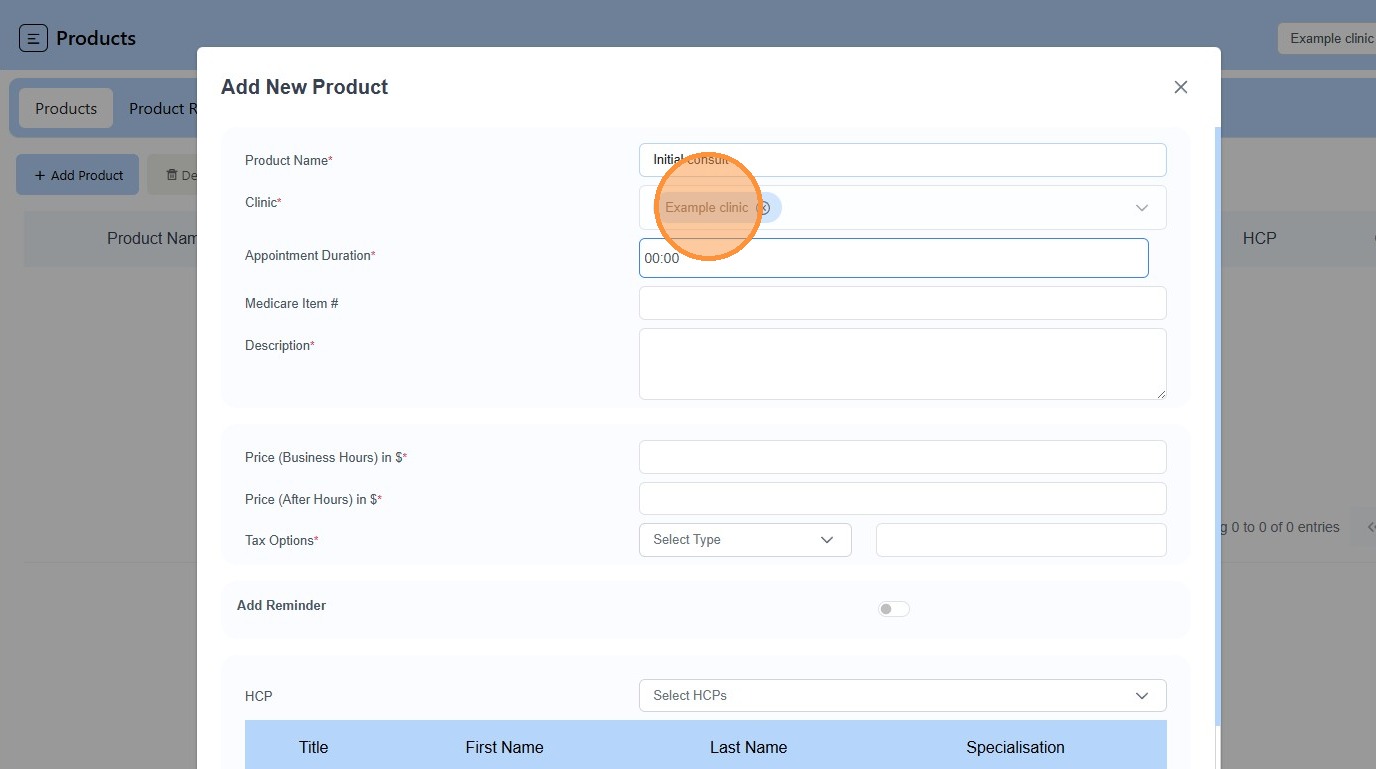
6. Choose under what “Clinic”
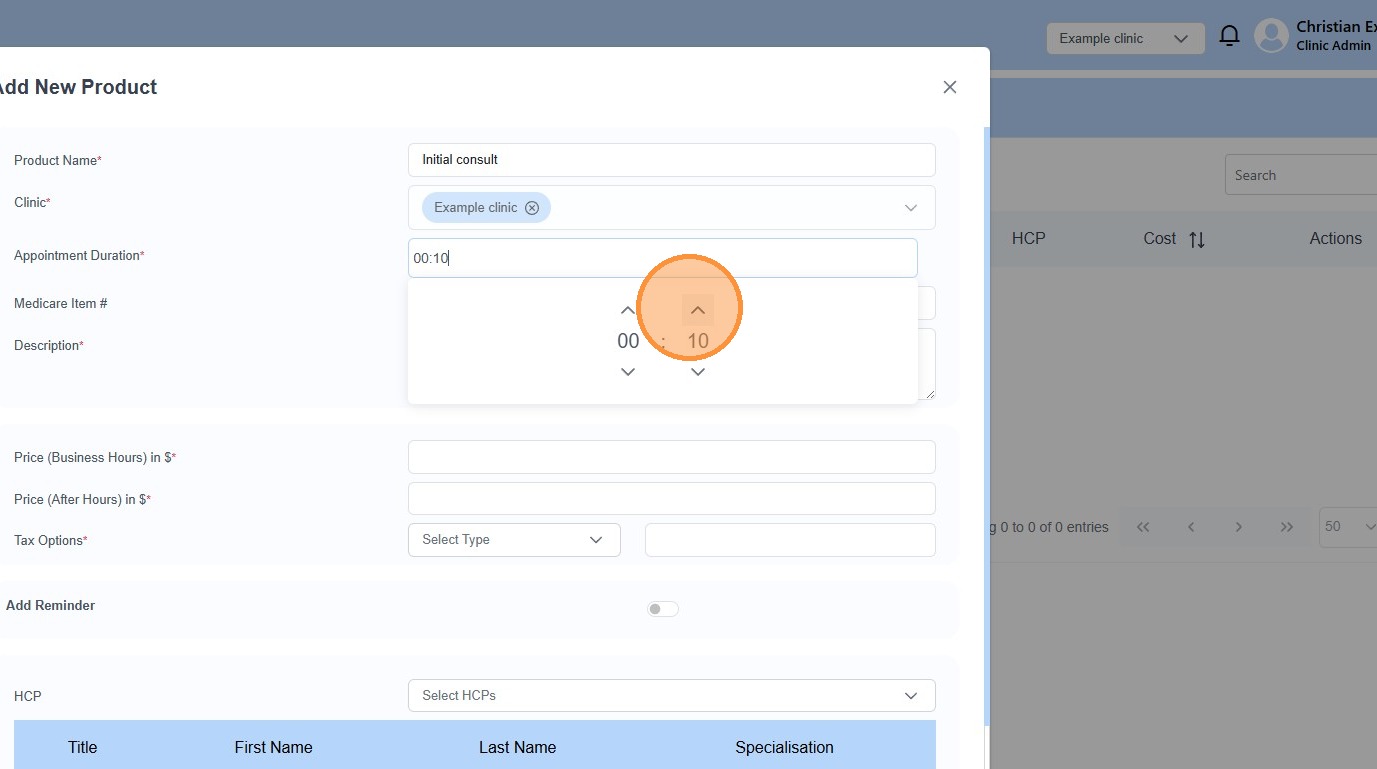
7. Click the arrow up and down icon to adjust duration
8. Enter “Medicare Item #” if relevant
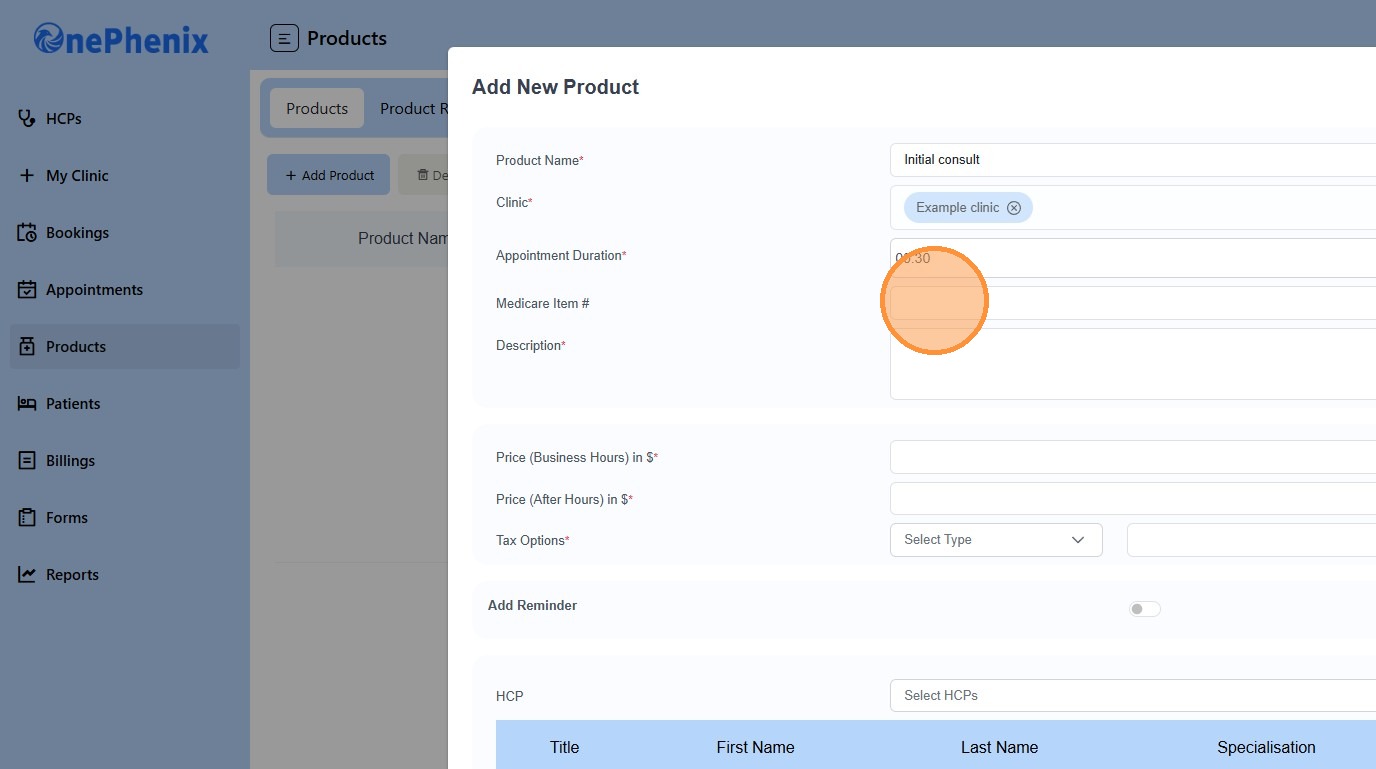
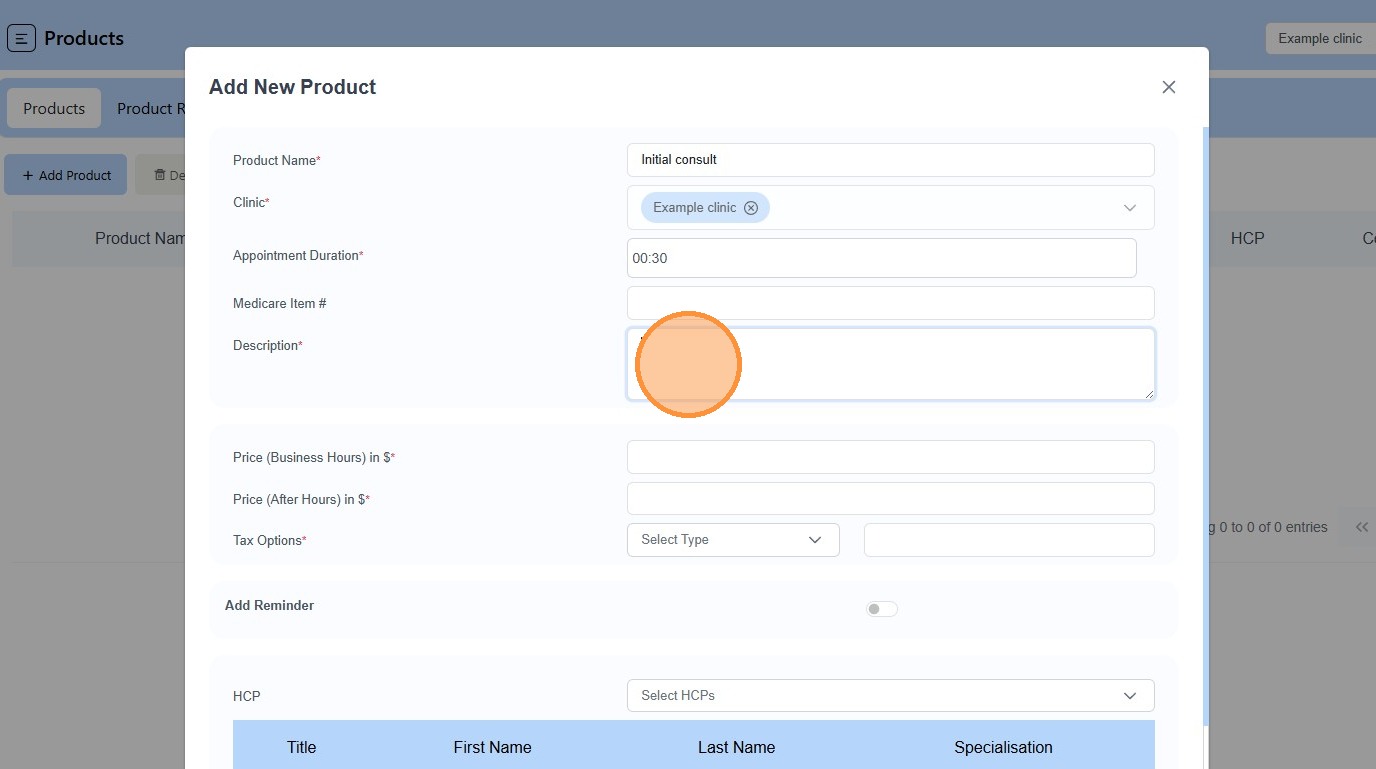
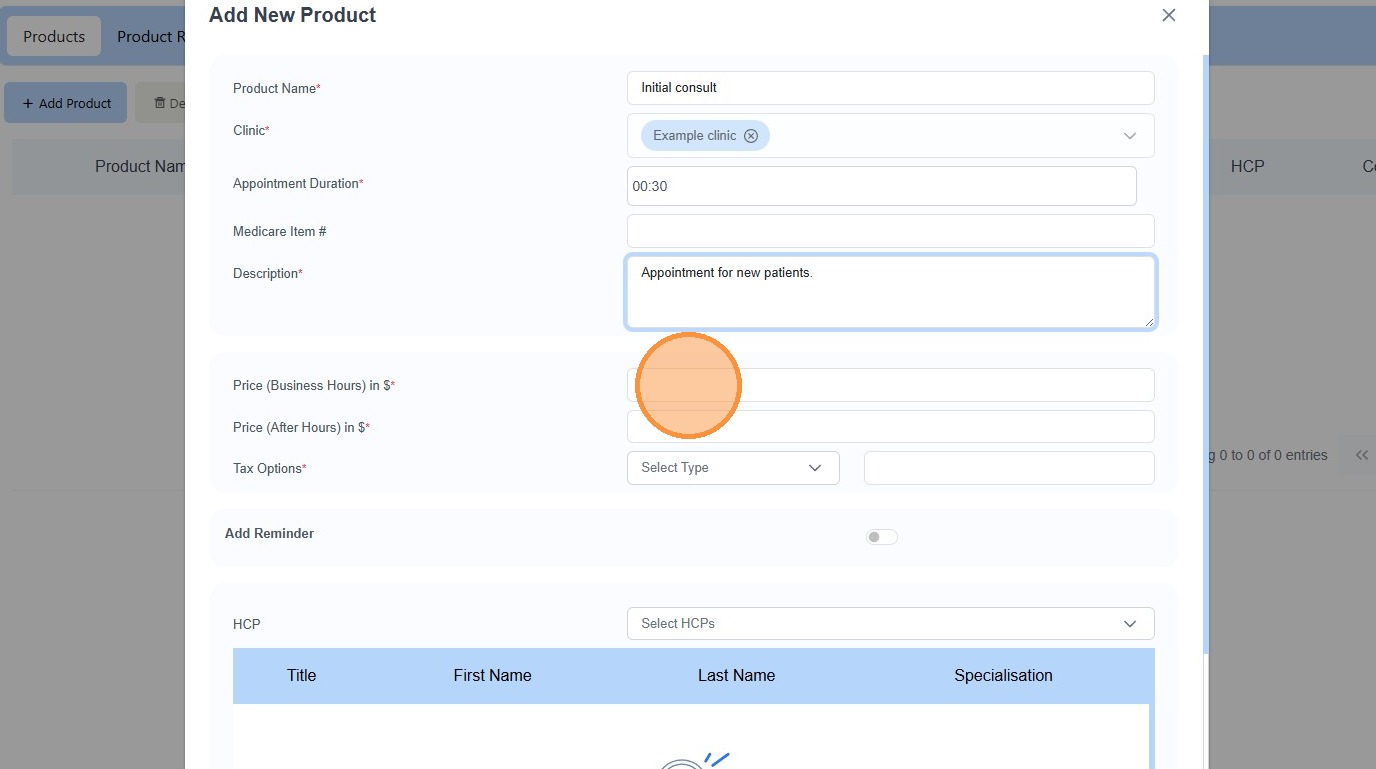
9. Enter a “Description”
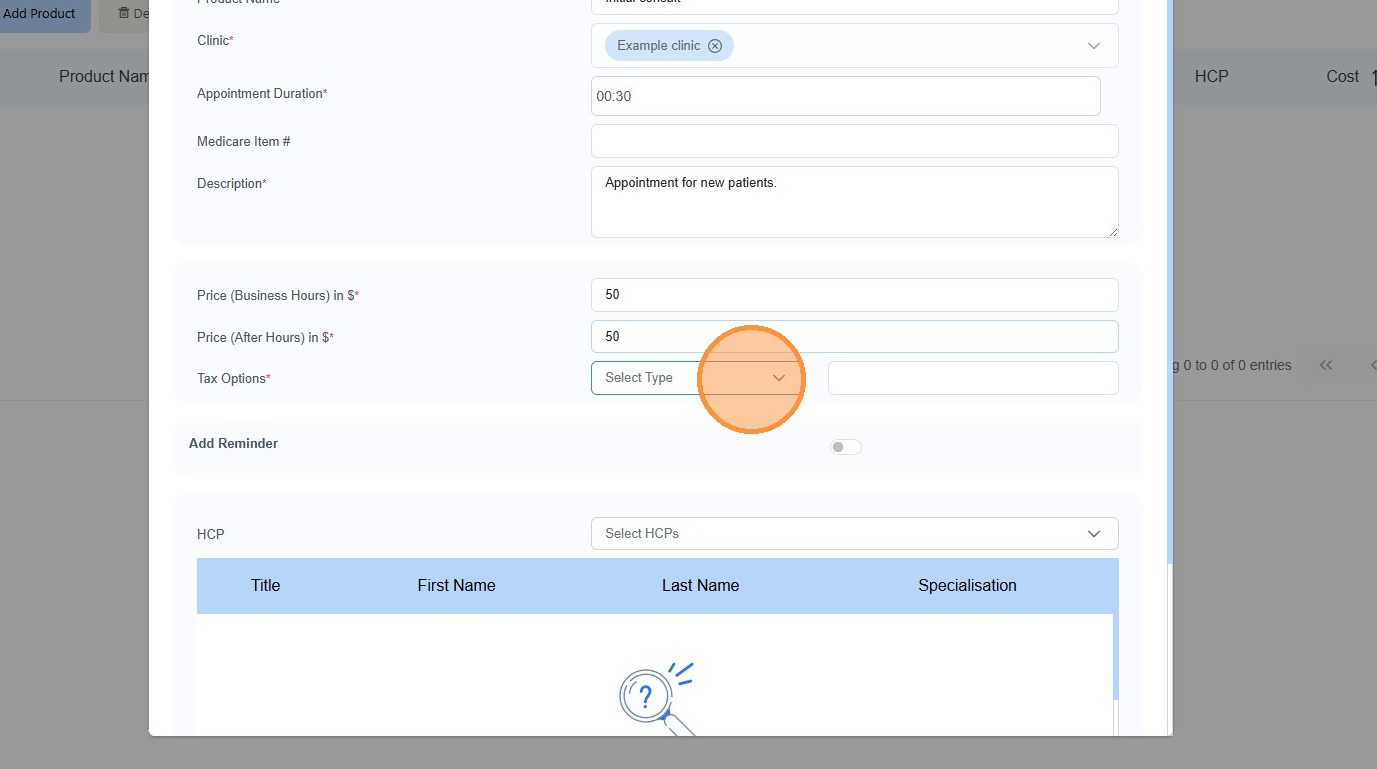
10. Enter in “Price”
11. Select required “Tax Option”
12. Click “Add Reminder”
13. Click “Save”